

As you might expect from Klingons, playing GOWRON’S HONOR GUARD is both straightforward, and surprisingly convoluted. The basic idea is dead simple. All you need to do is engage in combat and defeat your opponents in honorable combat. It’s that last bit that gets tricky. You can’t just wade in and slaughter everyone like some berserk barbarian, the honor of it is the whole point.
You’ve got a lot to work with. Gowron is a combat master, and his crew are no slackers in a fight either. Even Kurak, your scientist, will win a one-on-one fight with almost anyone. On top of that, you have some solid equipment. Both your standard nISwI’ HIich disruptor pistol and your bat’leth double-ended swords pack a punch with an extra damage if you hit. Gowron and Kurak forswear the heavy bat’leth for the more dagger-like d’k tahg, giving them an extra die in combat instead, bringing Gowron up to a whopping five attack dice.If that’s not enough, you can equip them with yan swords that give both bonuses, attack dice and extra damage, although at the cost of the extra defence die that the bat’leth gives in melee.
Going on a mad killing rampage would be fairly easy for this crew, but that’s not what they are about. They want honor, and are willing to die for it. One of your core missions is Sto’Vo’Kor, named for the afterlife where Klingons hope to go after an honorable death. For this mission, you get 10 points for each of your Klingons that survive the game with honor, but 15 points for each Klingon, yours or your opponent’s, that died with honor — great if you’re playing another Klingon away team! Throw in the Today is a Good Day to Die mission, which gives you 50 points if more than half of each away team is neutralised, and you can see that death is nothing to be feared.

Getting honor isn’t a trivial matter, which is as it should be. Many of your missions have a bonus of granting your characters honor, whether it be making a successful melee attack, killing a dishonorable opponent, taking damage from a worthy opponent, or even dying at the hands of a powerful foe. This often means that you need to hold off dispatching foes until the moment is right. Slaughter them too soon, and the chances of gaining honor in combat reduce immensely.
The other thing that can make gaining honor difficult is the resilience of your foes. Even when faced with a Klingon, most characters will take at least two attack actions to neutralise. Since you need to move into contact with them for a melee attack (most honorable attack opportunities require you look your opponent in the eye), and only have two actions per character per round, that can take multiple rounds.
There are several ways to speed this up. You can give your character more actions. Charge and Battle Fury give you bonus actions for making attacks, while Gowron can order other Klingons to act instead of him, and, if you have the transporter room, you can make a surprise attack, beaming a character straight into combat. Once you’re in a fight, Hone Skills and Qapla’ give you extra dice or change your dice to show a ‘4’, while Berserk and Blood Rage use your own damage to fuel your attacks.
Using these, and other tricks like ganging up on them, you can move a character adjacent to an opponent, then deliver two solid attacks in one round for a good chance of victory, especially when you discard a few cards for re-rolls to make sure every dice hits.
Alternatively, should the idea of simply fighting for the joy and honor of it not suit your temperament, or the situation require a more pragmatic approach, you can choose your second core mission and commandeer the ship. This is a pretty straightforward task, just complete five seize ship missions. These missions require you to have characters at particular terminals, while outnumbering the opposition on the same mission board, and then pass a command skill test.
There’s only two things that make this tricky. The first is that you only have four characters, so are outnumbered by most opposing away teams. The second is that you are Klingons, so mostly only roll one die for skill tests. Fortunately, Gowron and his first officer, Kromm, both have Command specialisations, giving them a second die, while Kurak, being a scientist, has two skill dice. With two dice, and a judicious discard for a re-roll if necessary, you should manage to seize the ship, room by room, winning the game.
To win with Gowron’s away team, you need focus, either on gaining honor or on taking over the ship. If you’re going for honor, read your missions’ bonuses carefully so that you know what you need to do, and make sure that you share the combats across your crew, giving them all a chance to show their worth and gain honor. If you want to seize the ship, stack your deck with cards that do this, then get moving to where you need to be. Don’t hesitate to dispatch any foes that come your way, but focus on the task at hand — work first, play later.
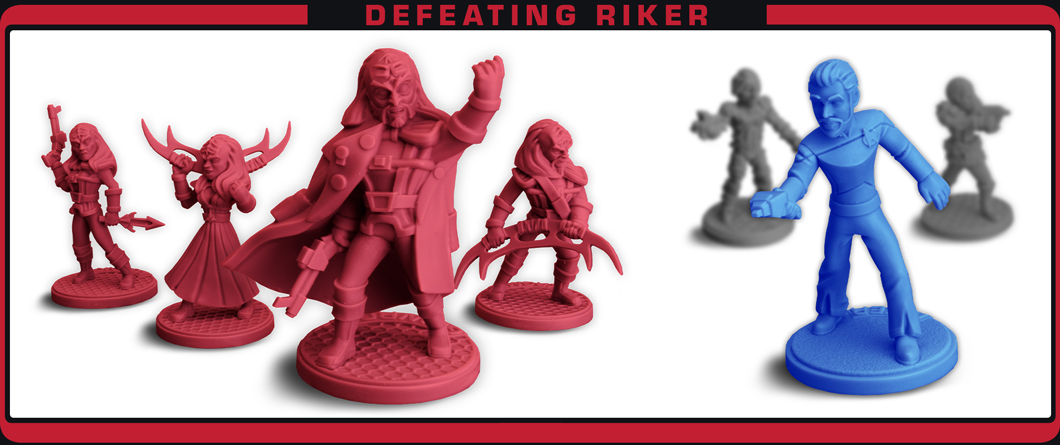
The most annoying thing about the Federation is their lack of honor. Rather than fighting hand-to-hand like a decent Klingon, or even using disruptor pistols, they insist on setting their phasers to stun. Now, where’s the honor in that?
Federation phasers don’t do damage. Instead, they give your character a stun token which takes one of your valuable actions to recover from. Without bloodshed, there’s no honor, and if your opponent keeps stunning you rather than drawing blood, your options for honor are reduced.
When facing the Federation, don’t send your Klingon’s against them one at a time. You’ll need to operate in pairs, one to draw their fire, while the other closes and fights. That, or use cards like Charge and Battle Fury or Gowron’s commands to shake off the stun and keep going forward. If you can, tackling characters that have already activated is also a way of avoiding getting stunned.
Since getting honor is usually the main goal, once a character has honor, they can pave the way for another character, taking the hits so that their comrade can score the points and the honor. The No Honor in Weakness card can be useful here, as it lets one of your characters use their attack action to remove a stun token from a crewmate, setting them up for their honor-bringing attack.
The upside of Federation stun tactics is that they are using actions to slow you down rather than to score points. If you can minimise the effects of their shooting, this can work to your advantage.
Often, commandeering the ship is a good option against the Federation. Since they don’t want to fight, preferring to huddle around terminals scoring points, occupying those terminals can cause them difficulties. Sending your crew out in pairs to seize rooms, gives you the opportunity to score, while wreaking a little mayhem at the same time. In a way, not having to chase the Federation characters down to score points can make it easier to attack them. Only one of your Klingons needs to take actions to score these missions, leaving their partner free to indulge in a little disruptor fire or to chop up any handy opponents.
The key to defeating the Federation is to pay attention to what’s going to score you points, while taking the opportunity to neutralise them whenever it comes up. The fewer crew they have, the harder it is for them to score points.
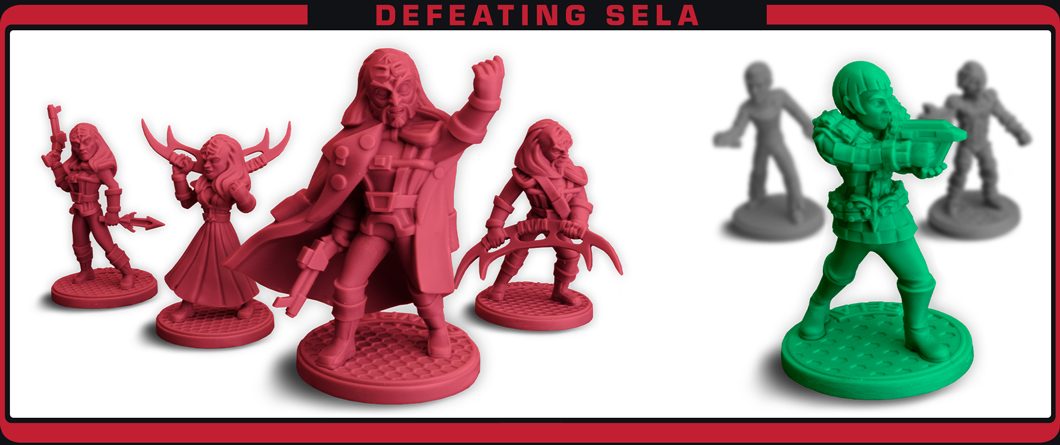
The Romulans are perhaps the easiest to defeat. They have plenty of relatively weak characters to fight, they don’t keep trying to stun you, and they won’t turn your Klingons into honorless machines!
The problem with the Romulans is their untrustworthy nature. You think you have an attack perfectly set up and they vanish. You’re all set to strike them down with your bat’leth and they pull some sneaky trick and survive. The best way to handle them is to go in hard and fast, right from the start. If you give them time to build up intel, they’ll start pulling their sneaky tricks.
Since the Romulans have plenty of characters, you can afford to dispatch a few without getting honor. Once you have them on the back foot, then you can start being more picky about how you fight, ensuring that the survivors meet and honorable death. Also, since the Romulans are likely to fight back, consider having plenty of missions that turn the damage they inflict on you into honor and, if necessary, a passage to Sto’Vo’Kor.
If you do find Sela’s Romulans starting to get away from you, do whatever it takes to neutralise some of them, scoring points where you can on the side. If you aren’t neutralising them, then you’re losing.
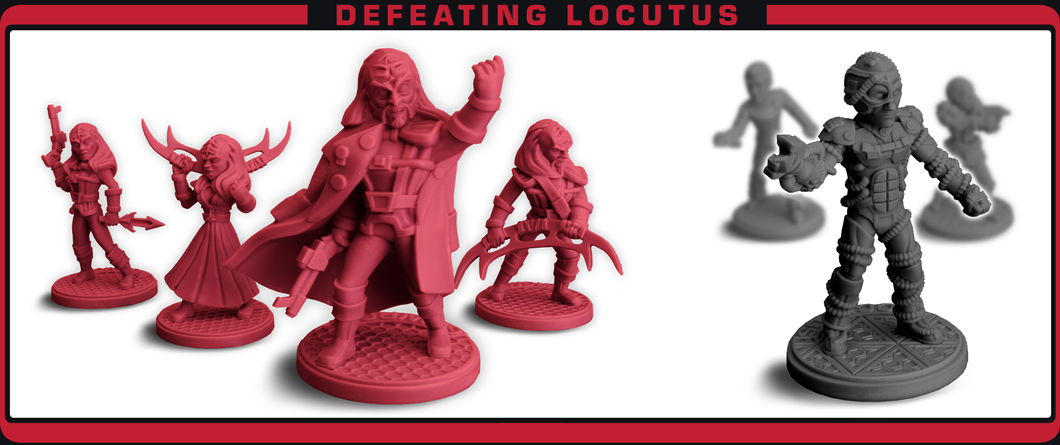
Locutus and their Borg are as troublesome in their own way as the Federation. The biggest risk with them is getting your characters assimilated. As honorless machines, they are of no value to you and serve to make your opponent tougher. This can put you in a Catch 22 situation. You need to close and attack them in melee for maximum honor, but if you do, you’ve put yourself in the perfect place to be assimilated.
There are several things you can do to minimise the risk to your Klingons while exterminating the Borg. Firstly, make sure you neutralise them before the Borg player gets another activation. That reduces the chance of that Borg attacking and assimilating you. It’s not foolproof though. The Borg have a nasty habit of simply replacing any neutralised Borg with another, apparently identical one. So, even if you neutralise a Borg drone, you may find them reappearing, ready to neutralise you in their next action. It’s not even safe attacking Borg that have already activated, since, even if they don’t have Bonus Actions, their hivemind allows other Borg to give them attack actions, potentially assimilating the attacking Klingon.
What makes the Borg so dangerous, despite their innocuous-looking attack ratings, is their damage bonus. With a few bits of Borg equipment, a little subcommand, and some adaptation, they can turn into killing machines. They still won’t roll many attack dice, but the ones they roll are likely to do lots of damage, crippling or even assimilating your character if you let even one attack die through your defences. Worse, they just don’t stop. The same Borg drone can make attack after attack using the hive mind. Sure, your opponent isn’t scoring if they’re doing so, but assimilating one of your Klingons may be worth it for them in the long run.
So, aside from making sure you finish them off, what else can you do to improve your odds of surviving attacking a Borg drone? Firstly, if you can, move away after the attack. This isn’t easy, and is more of an ideal than something to plan for, but if you can, you’ll be a lot safer.
Secondly, try and keep a good hand of cards for re-rolls. If a Borg rolls a ‘6’ on their attack die, you need to get a ‘6’ on your defence dice to match it. That might take a few re-rolls.
Thirdly, consider getting backup if you can. Like moving away, it’s tricky to pull off, but it can be well worth pairing up at the end of a round, just in case the next wave of Borg appear right next to your characters.
Finally, if you can manage it, just shoot them. This can result in a low score for yourself, since the Borg probably won’t be damaging or neutralising your characters and relatively few missions give honor for shooting someone. Still, it is a lot safer.
All-in-all, the Borg are scary to take on with Gowron’s away team. They might just sit there letting you exterminate the infestation, or they might just turn around and add your characters to the Collective.
GO FORTH AND CLAIM YOUR HONOR!
