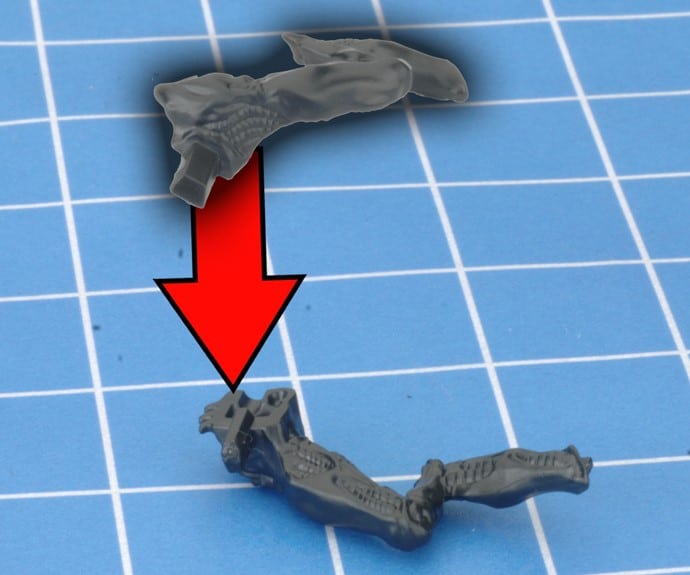
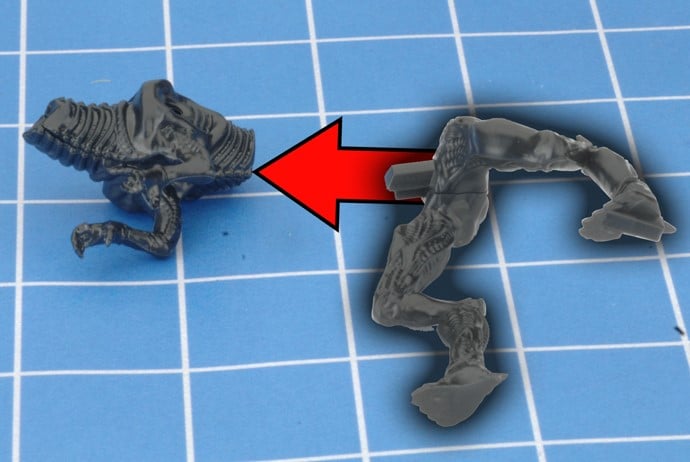
Step 1. Attach the two main torso pieces together.
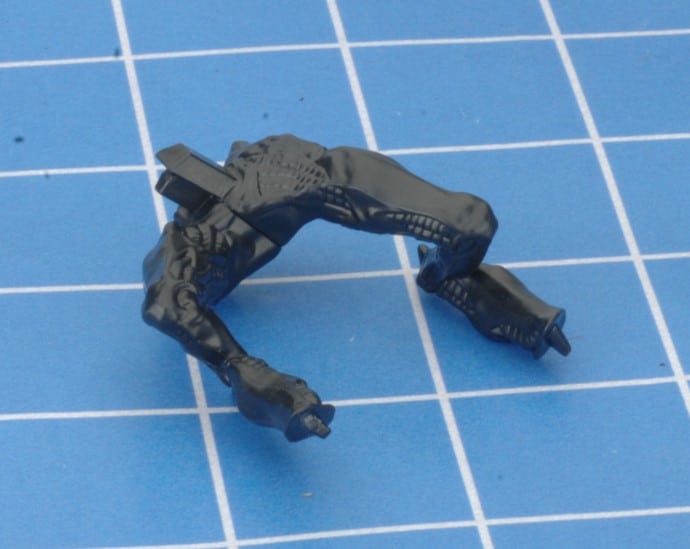
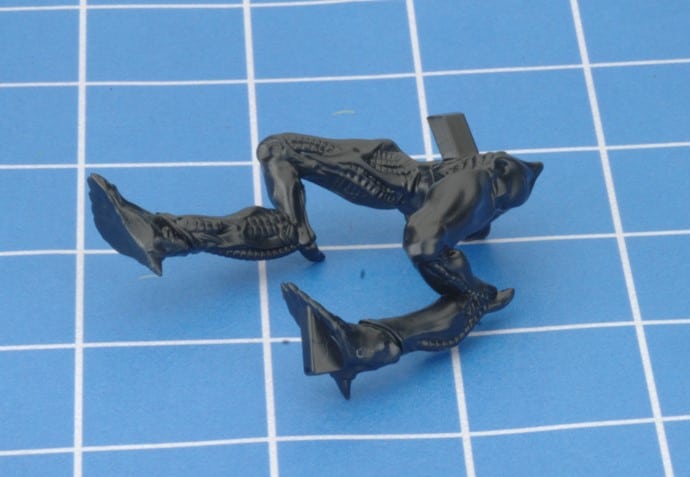
Step 2. Now attach the two rear leg pieces together.
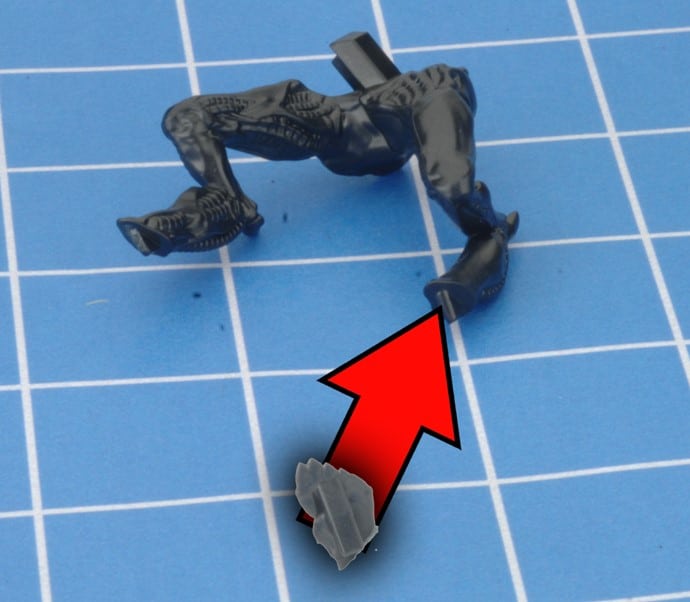
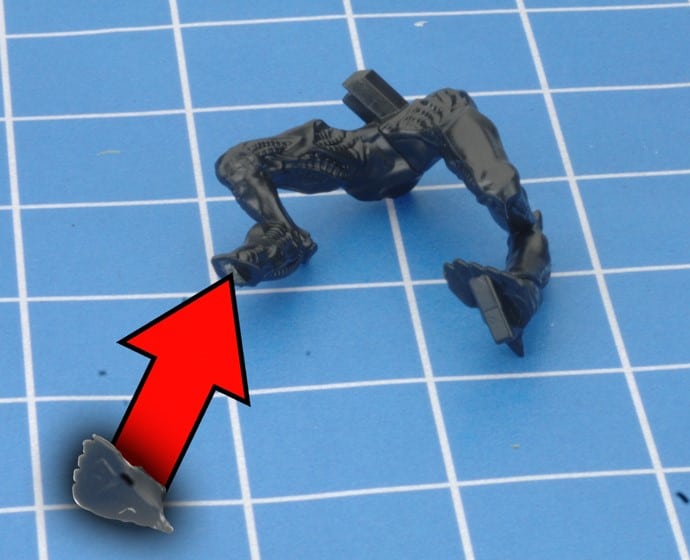
Step 3. Attach the feet to the rear legs. There are slots to help you correctly align these two pieces
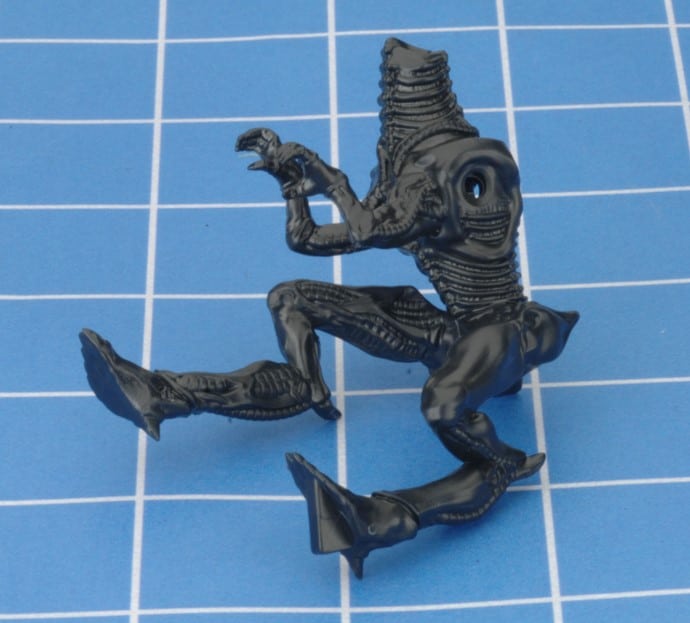
Step 4. Attach the legs to the main torso. There is a slot to help you correctly align the two and should slot together snugly.
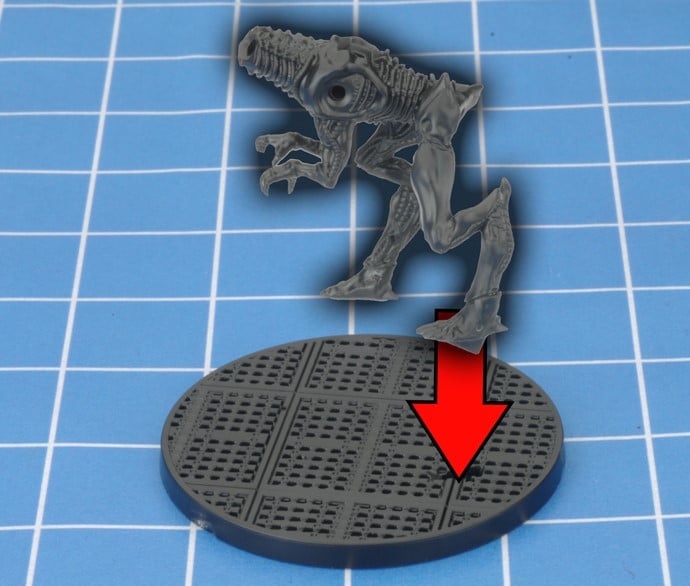
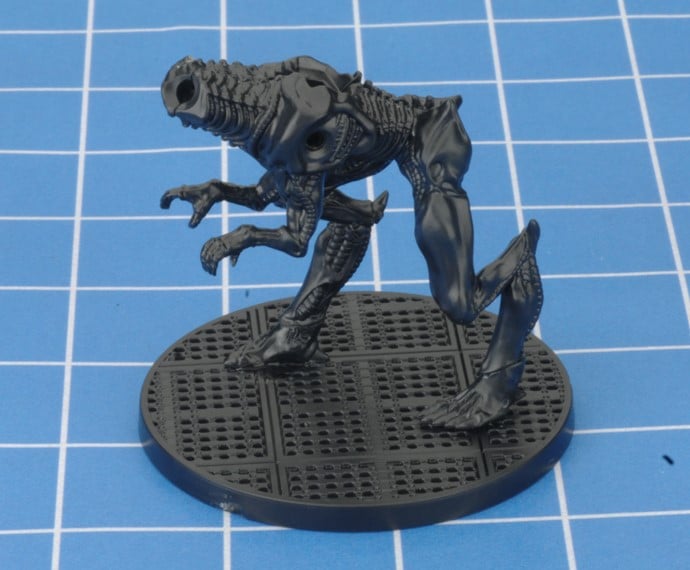
Step 5. Attach the main body to the base. Note that the left foot slots into the base
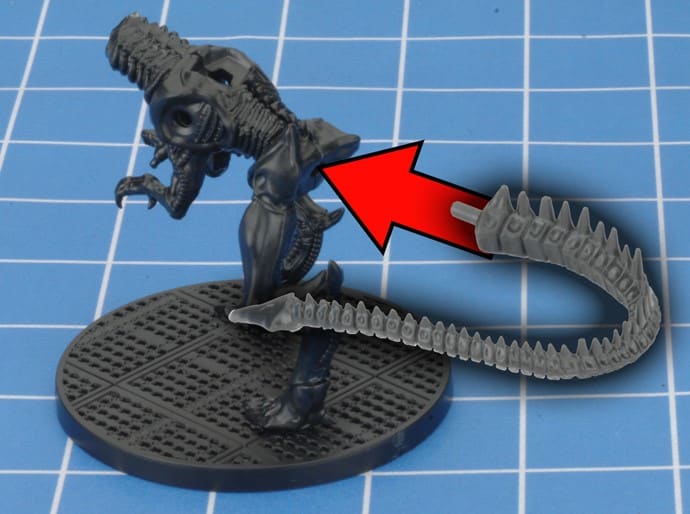
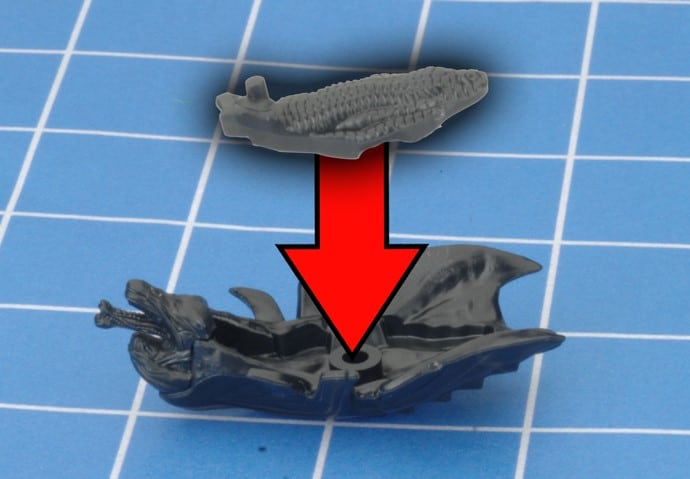
Step 6. Attach the tail to the main body. Note there is a slot to fit this into and the large spine should face upwards on the model.
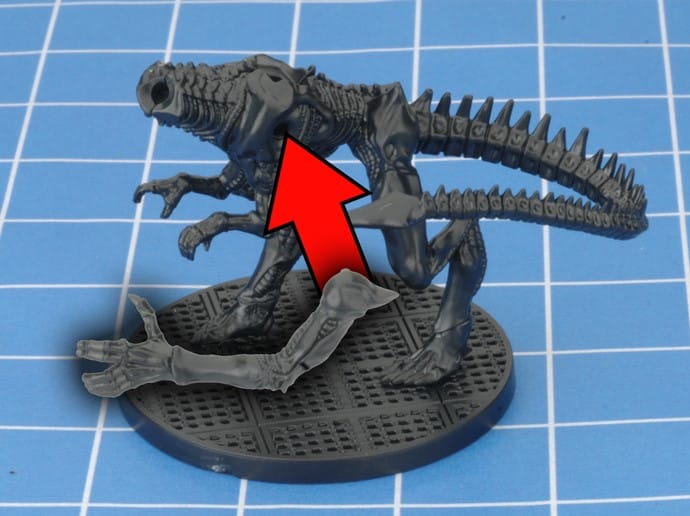
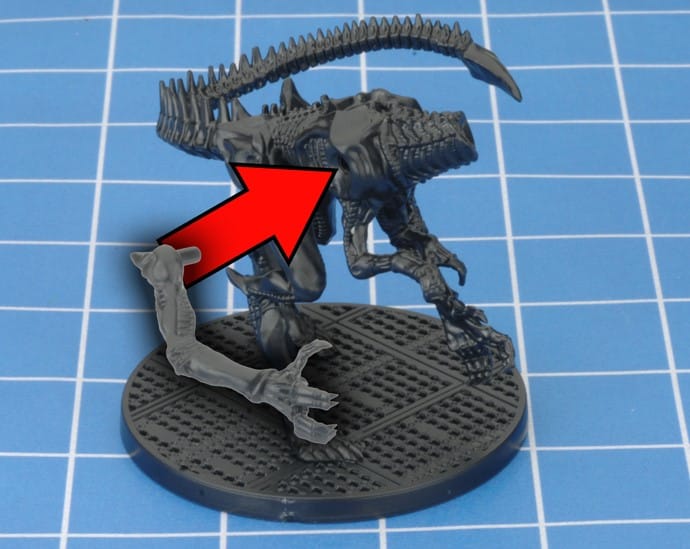
Step 7. Attach the left and right arms to the main body. Note that there are slots to place the arms into to help you with placement.
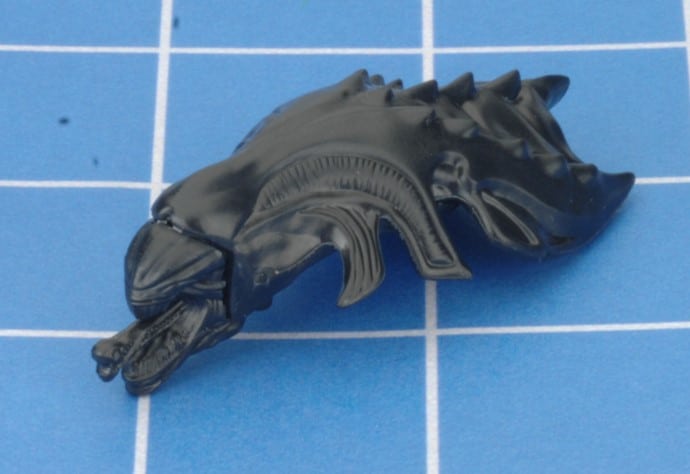
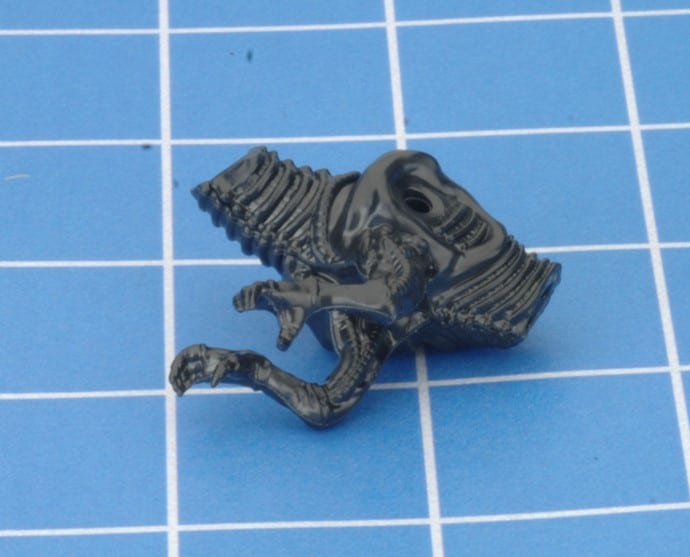
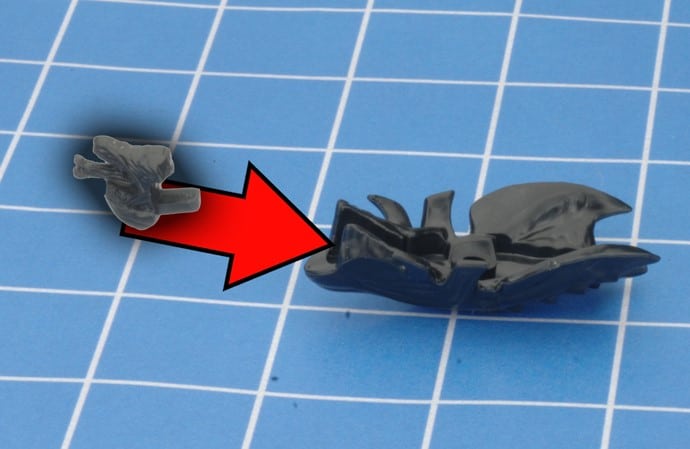
Step 8. We will now build the head. Start with the head armor piece and attach the face in the slot shown below.
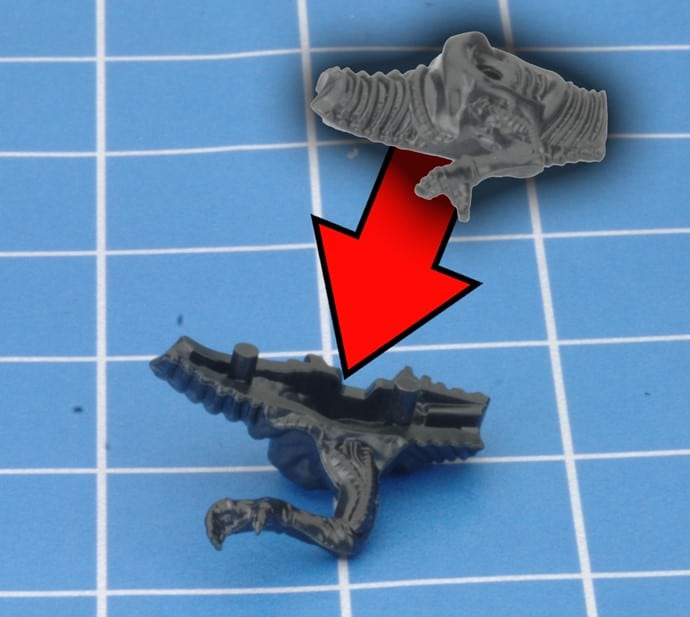
Step 9. Now attach the lower part of the head to the assembly. Note that there are slots to help you with the correct placement.
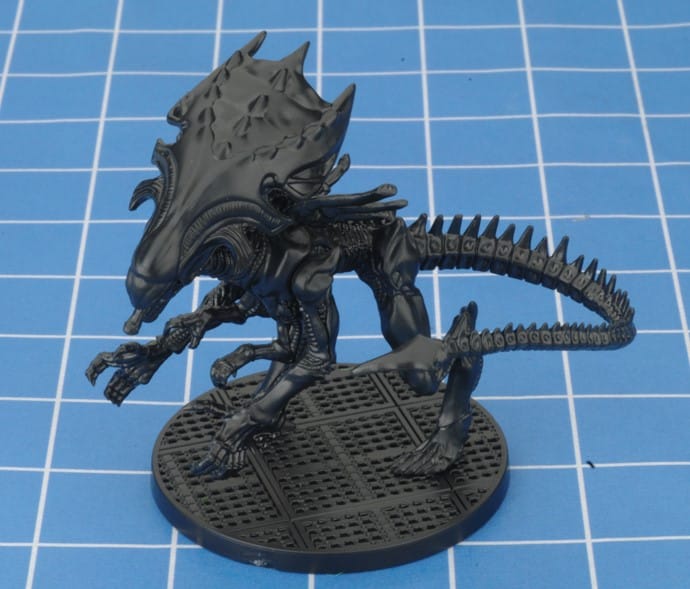
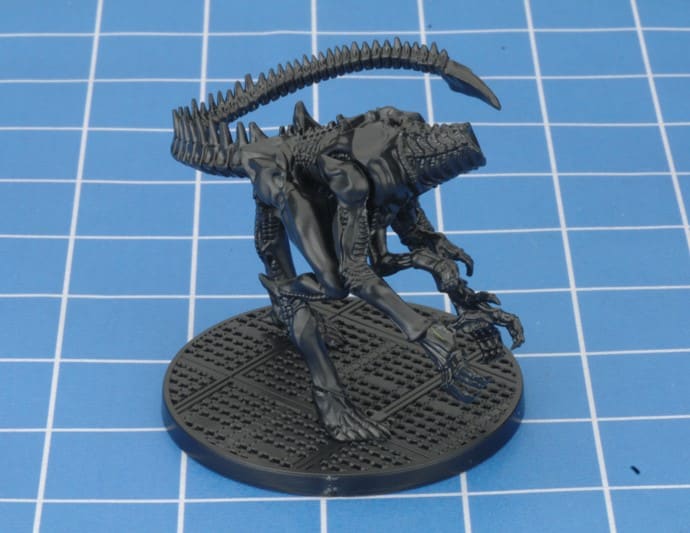
Step 10. Attach the head to the complete body. The model is now complete.